Well guys, here is my first attempt at fiberglassing. I figured I would start with a good beginner project, so here it is.
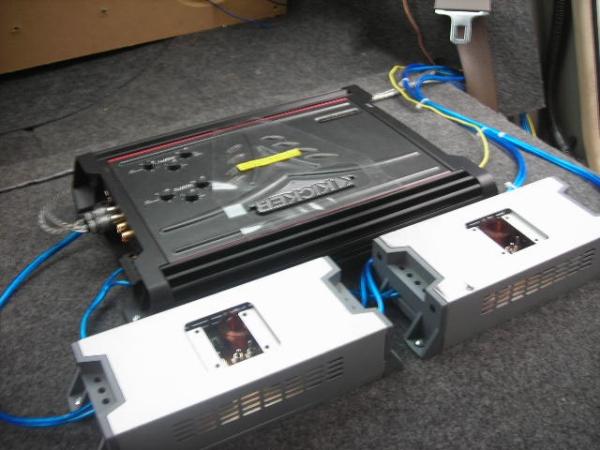
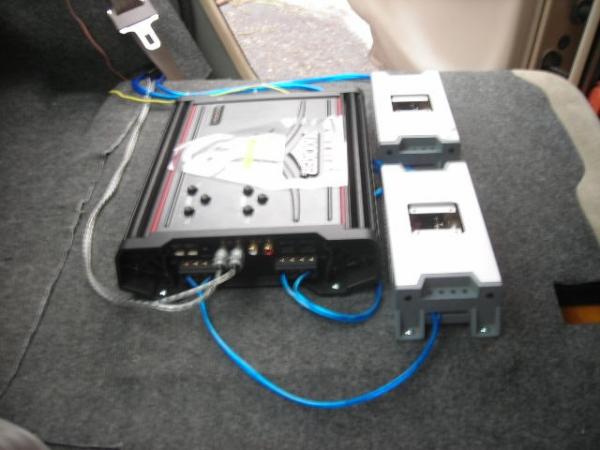
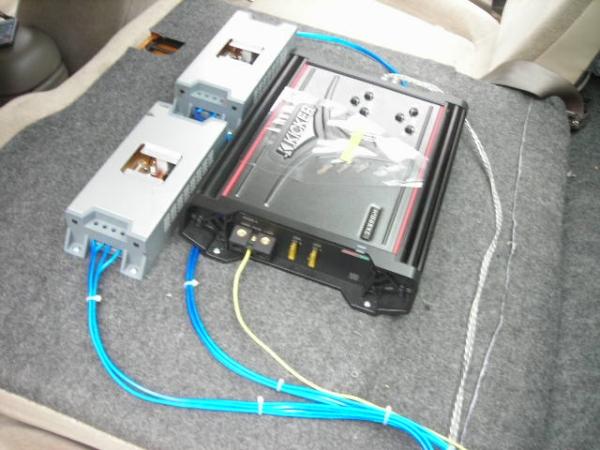
Speakers: FREE Boston Z6s Amp: Kicker 350.4 (I don't know if I am going to go passive or active yet)
Day one:
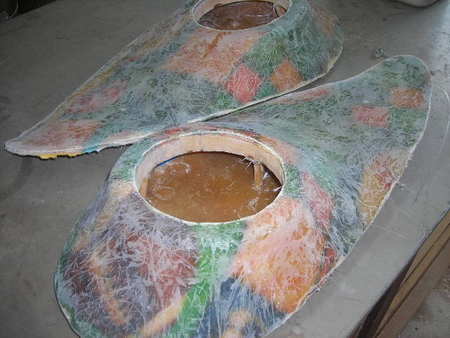
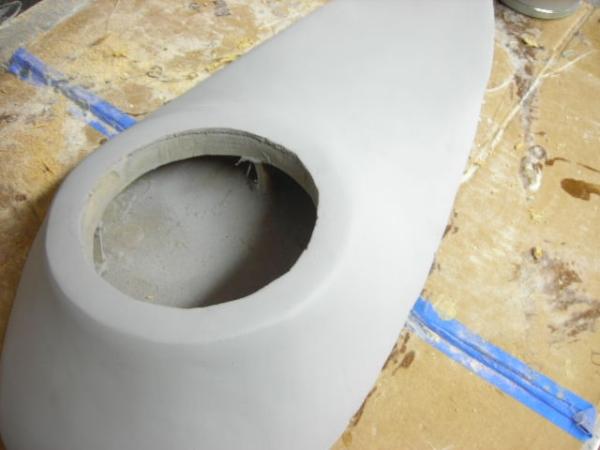
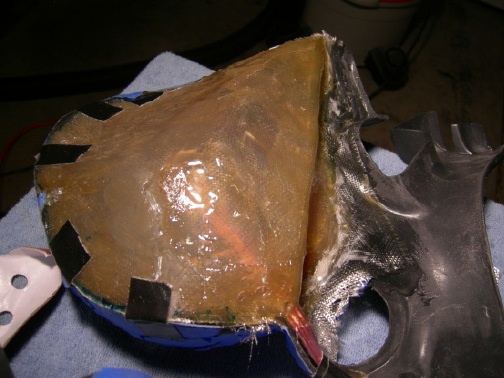
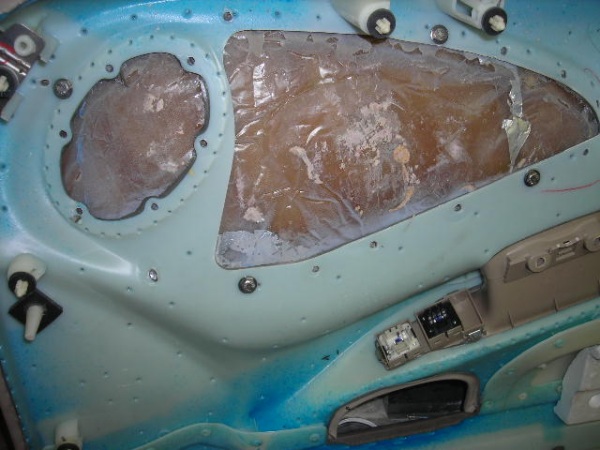
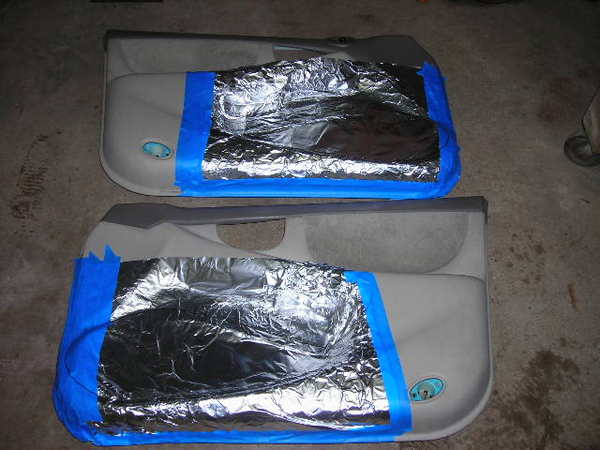
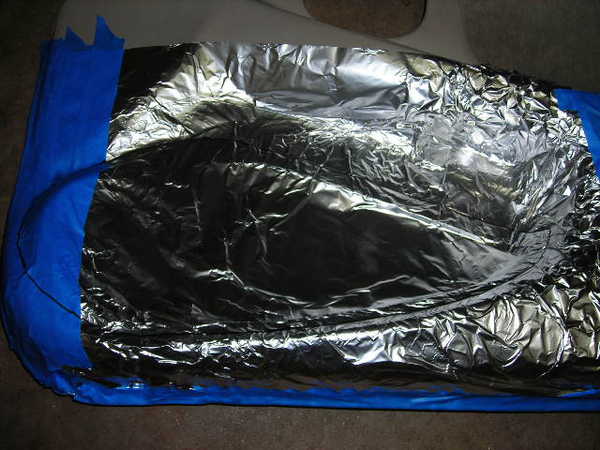
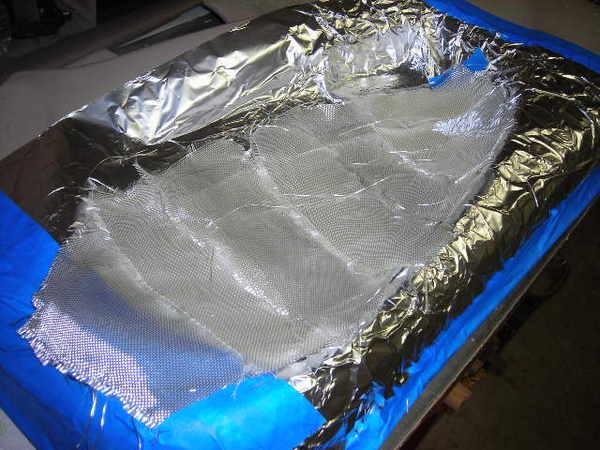
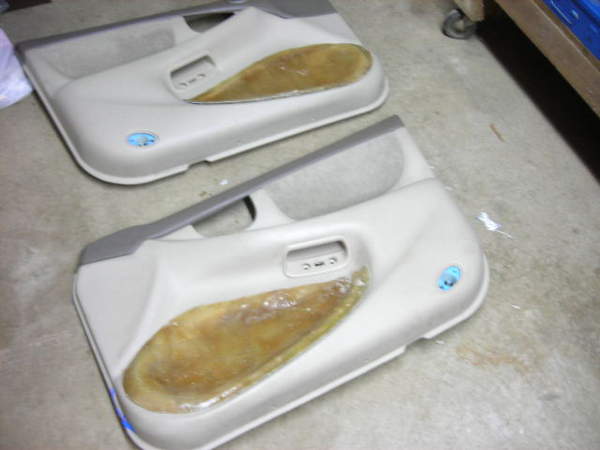
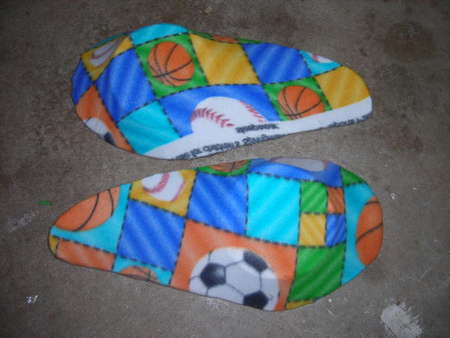
Took off the door panels. The map pockets had to go Got my mold laid out with tin foil and a perm marker Got the matt cut and laid out to see how it will go. Well here is the mold. Has 3 layers of matt on each. I used the whole quart of resin lol.
That's it for day one :D Tomorrow morning I will make a wal-mart run and buy some dowels, more resin, and some fleece to make the top part of the pods This is my first so don't go too hard on me :p
Yeah Marc, I learned to use alot less lol. I think I am getting the hang of it. I'm about to go mount the speaker rings. More pics in a few hours guys.
Well guys, got a little bit done today, but tonight I ran into a few problems concerning speaker placement. I'm going to have to spend a full day just trial and erroring how exactly to mount the speakers. I went thought a pack of dowel rods tonight with no luck. I'm also going to have to trim the molds some more in order for the pods to not get in the way of the dash. *sigh* The Alero is just too crowded.
Molds out the door
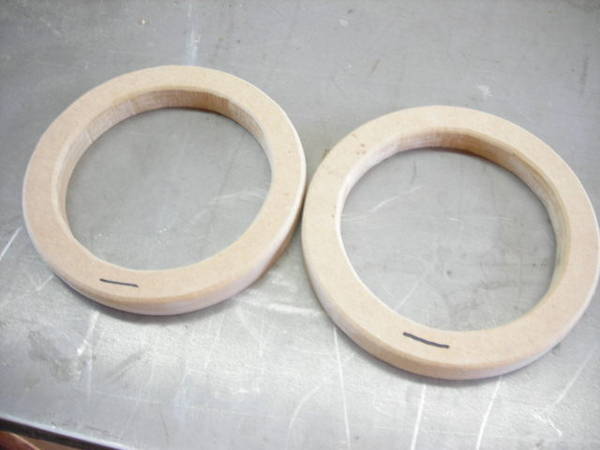
Speaker rings FTW
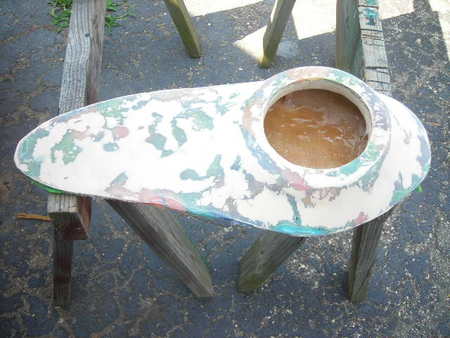
Molds trimmed up
That's all the pics for today, I will try to work some more on it tomorrow
I have always used foil, works best if you use shiny side up. Honestly to me it works better than anything it tends to stay in place and conform nicely. Polo.
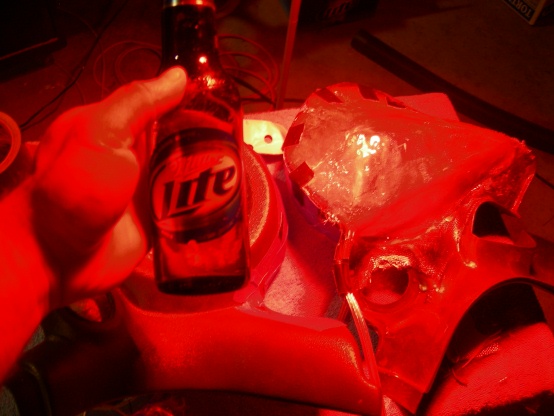
^^^^ Mix it to hot and it will stay tacky, been there done that!!! Had to remove the old sh!t and start over on an old box I did. I now mix it in 3oz cups with exactly 14d drops/oz of resin, works perfect and I get plenty highhhh. BTW will be pouring more tonight. Polo.
Well guys, I did not get to work on it today at all because of work. Tomorrow I have work and school so I probably wont be able to work on it then. Same thing for Tuesday and Wednesday I probably will not get time to work on it anymore until the weekend because I need daylight.
"I now mix it in 3oz cups with exactly 14d drops/oz of resin"
I mix 4 ounces of resin with about 50-60 drops or so total. That usually gives me enough time to place it all out before it starts to jelly
"Looking pretty good so far Nick..keep it up."
Thanks Jake and everyone else that had given some feedback. I just hope I will get this all in soon, so the build log does not die into the archives.
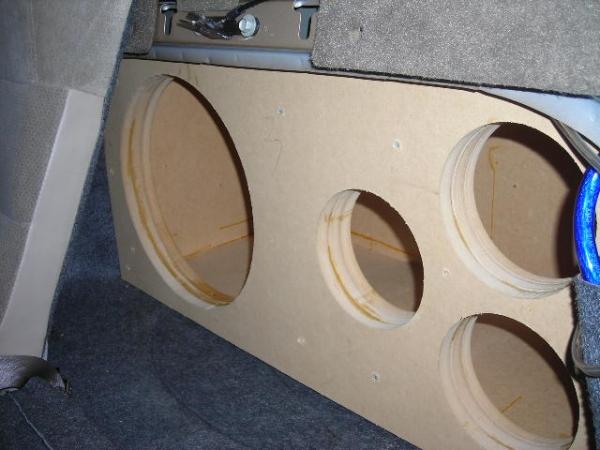
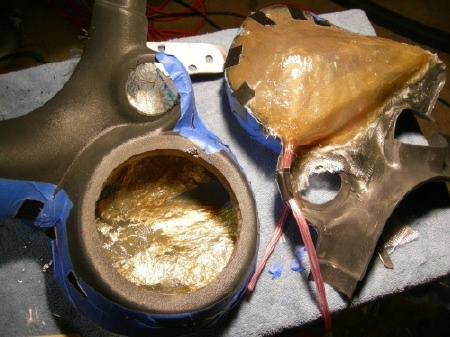
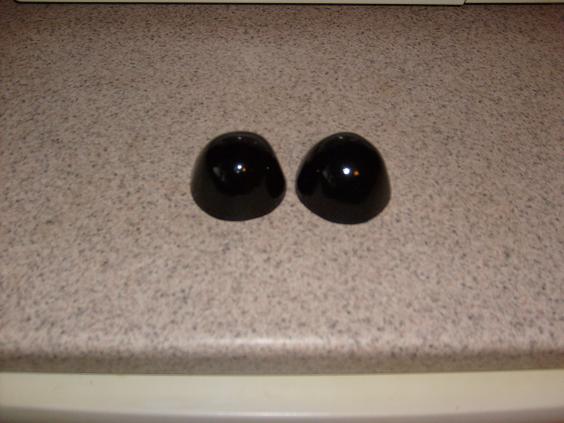
I came up with this idea to resin botls onto the molds and bolt them onto the door through the factory rivet holes :D
I have my rings wrapped and ready to glass. I messed one once already because I wasn't sure how to approach it, but now I think i have a better idea of what to expect :D
the gf being bored with the camera lol
"More importantly HOW did you manage to burn yourself with wire and more importantly than that, WHY did that wire not have a fuse on it."
I am not sure why the wire was burning up. I had my temporary HU hooked up in the back of the car testing out a customer's amp, and the next thing i know, the wire started burning up. So without thinking, I grabbed the burning wires and ripped them from the spades connecting them to the battery. I have used this hu on the same wires a few times and it has never given me any trouble till now. Why didn't I fuse it? Because I created this harness the night before a competition the next morning and I did not have a inline fuse handy. It is only hooked up while I'm sitting there burping. My inline fused I ordered for it a few days ago has not yet arrived. It really is not a big deal though lol. Just a few burn/cuts on my fingers.
Iight guys. I have done a little bit more work in the last two nights. All I got left to do tomorrow is sand, filler, sand, sand, and some more sanding to get these things ready for paint in the near future.
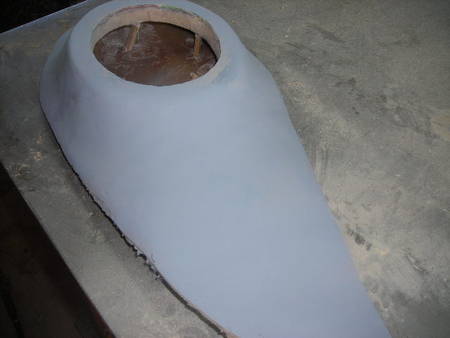
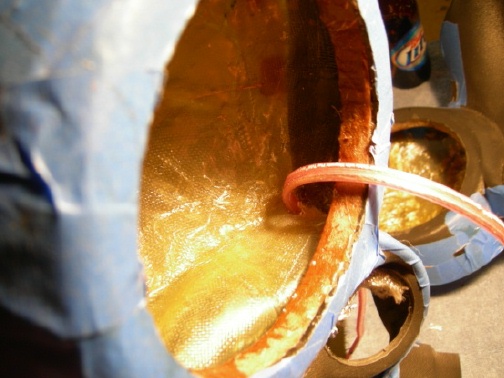
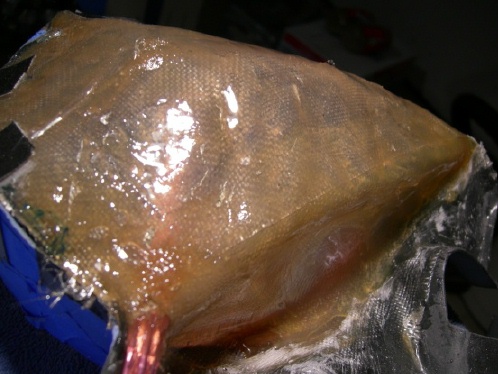
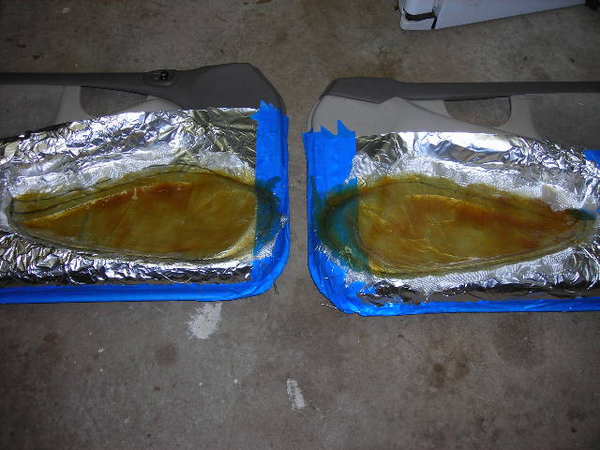
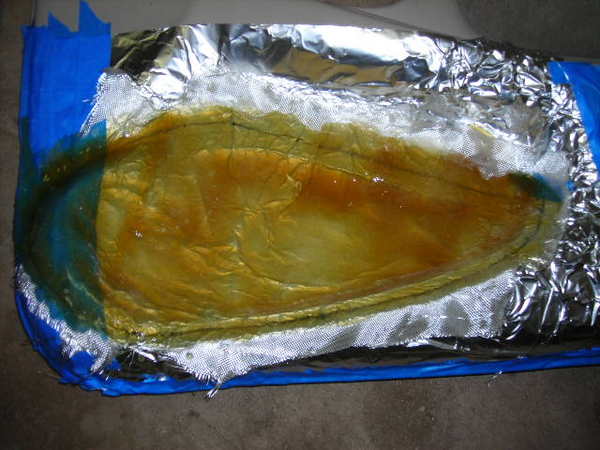
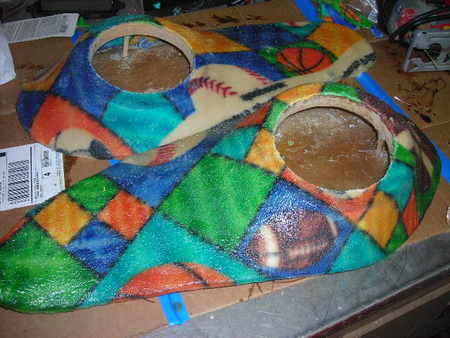
I resined the fleece to the edges.
Once those cured, I applied a layer of mat for strength. This is where I left off tonight. I will let them dry over night and work with them some more tomorrow.
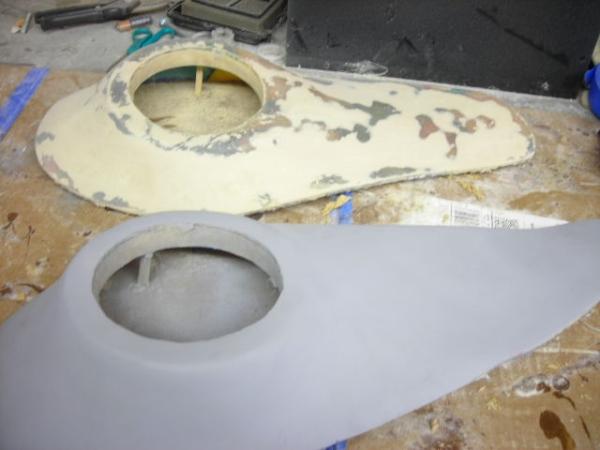
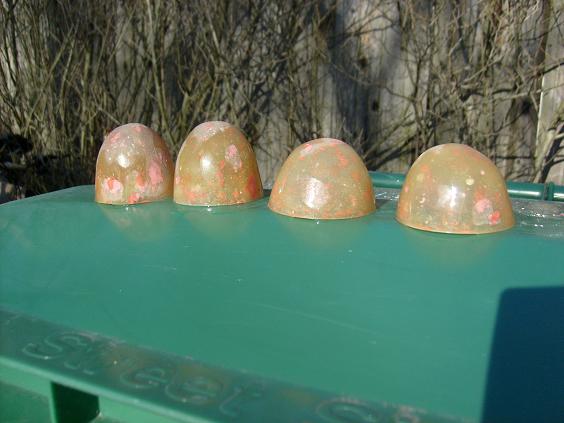
Alright guys, today i got one pod filled and primed. The first attempt was a mild failure since I am learning and trying to figure this out as I go. Here are a few pics
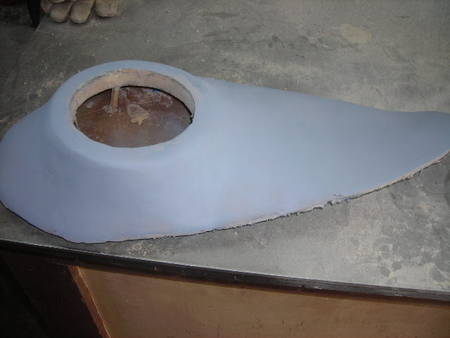
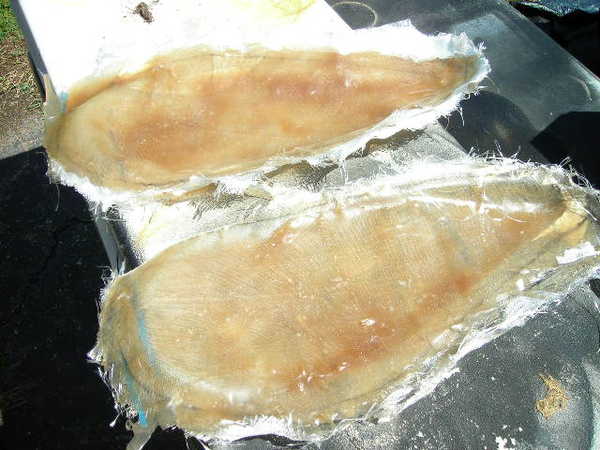
The sisters with their matts nice and trimmed ;)
A pic of the first attempt at filler on the pod
A coat of primer. I do have a few pinholes and a few minor sanding imperfections that I think can easily be fixed, I just have to figure out how to do it.
If anyone has any tips on fixing the pinholes and any tutorials on body filler, it would be greatly appreciated. I want to get this one pod perfect before I start on the next
Thanks for all the feedback guys. I just got back from getting some spot putty. I'm going to see how this works tomorrow with filling in my minor pinholes
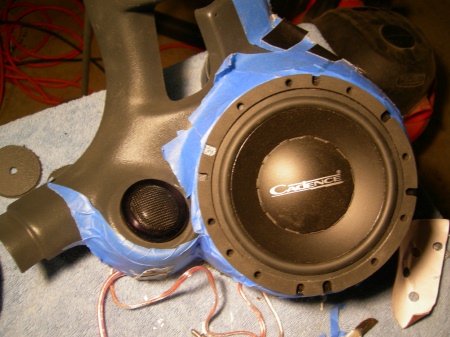
Ya Rob I thought the same thing but chances are it is just the depth perception of the pic, I know a Cadence CVL would not fit in there. I had to constantly have driver on hand to make sure it would fit at every step. I found when using actual fiberglass instead of fleece It cam eout alot smoother, easier to work with but need more layers which was ok, let me build it up/more flexible. I will have pics of my modified Q-pods after this weekend. Polo..
The driver does fit in perfect (made sure when I was mounting the speaker ring lol) There is also actually a little bit of room. Even with these pods, I will not have much foot room lol.
yeah, i used body filler and filler primer. There are just a few high spots and craters left in the filler that I can not seem to work out. The pinholes are no problem, its everthing else that I'm trying to get fixed lol.
Well guys, I got quite a bit done today. Hopefully I will finish it up tomorrow.
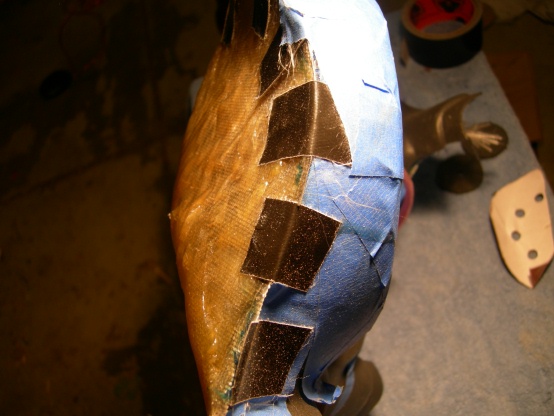
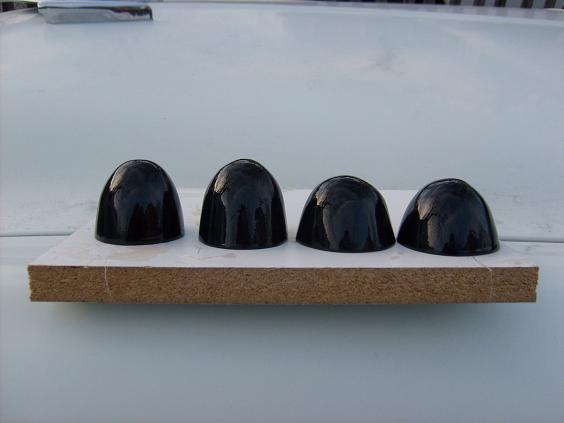
I decided to wrap the pods because there was a few bad edges where the fleece and glass meet that were not fixable. But just to see if I could do it, I tried getting one paintable with no imperfections and I did it :D
See any bad places lol? I will finish up the other one tomorrow and wrap them both I really want to put my tweeter in the factory location, but im going to have to turn this piece into a tweeter pod ;) That will come soon. Just laying out the wires Here are a few pics of the final product without the power and ground ran. My goal was to make it look as clean as possible. Just to show that the rest of the install is clean also. There were no shortcuts taken lol. A gallon of Red Diamond Tea and hours of sunburn later, I finnally finished it up. Here are the wires in place ready for the pods and tweeters
Also, A sneak peek of what my next project is hehe.
Actually anything is better than playing them in a stock door more of an IB setup as it is impossible to seal a door up perfectly. Even if you did it would have way to airpace so acoustic suspension is waaay out of the question. Small and sealed it can only get better on the low end maybe inprove the overall frequency band down below, more power handling also. Polo.
Thanks for the Feedback guys I am still working on these things, I changed my mind back to painting so now I am fixing the edges and hopefully have them finished up tomorrow.
Rob, This is really the most airspace I could get out of my doors considering there is not much foot room in my car as it is.
I finished up today guys I will post pics tomorrow
These things sound so amazing. I haven't even mounted the tweeters yet or tuned them like I want to yet and they still sound awesome. I can't wait to get it just like I want it :D
We need pics yesterday! I've been busting my azz so I haven't posted much but it's been a rough couple of weeks. Work, work on my car and then work out and sleep. I've been running myself into the ground but it'll be worth it in the end...I think.
looks like your getting there. btw, theres a stuff called spot filler, comes in a tooth paste type tube, usually red. I use that to fill in any pin holes and scrathes. put 1-2 skim coats on, wet sand with like 600 grit, prime paint.
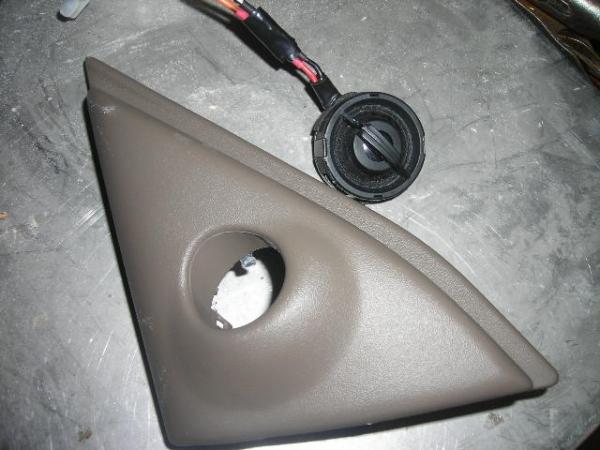
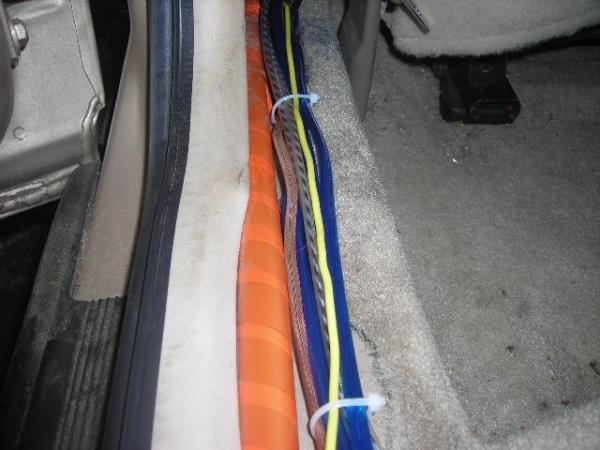
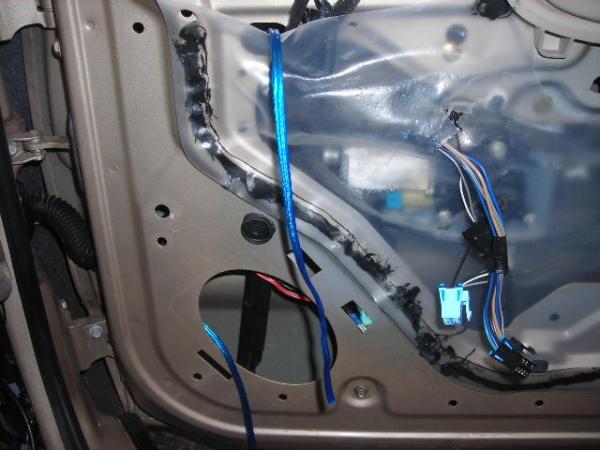
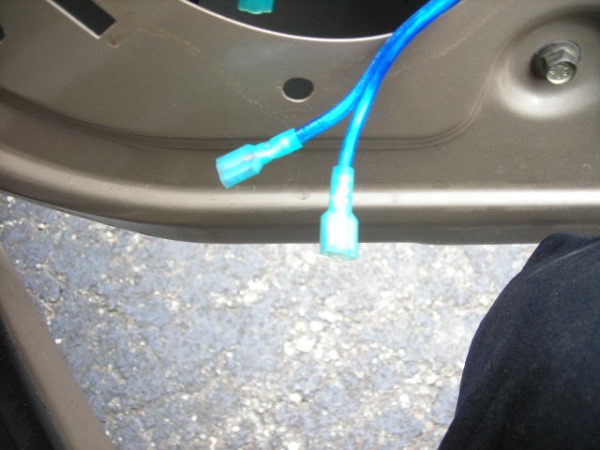
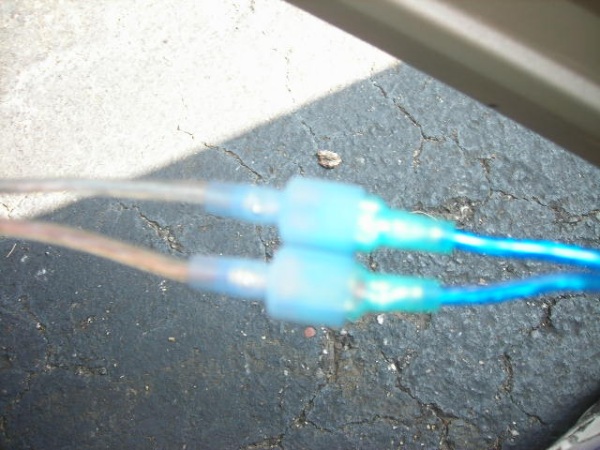
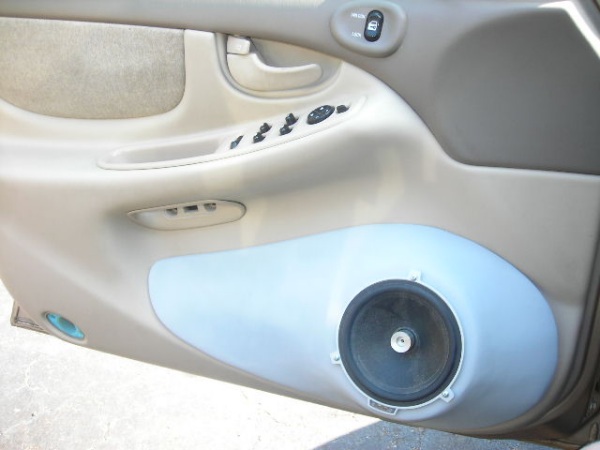
Heres a pic of the wires coming out of the door. To connect the wire running out the back of the pod to the wire running from the door, I decided to use spades since I'm always taking my door panels off.
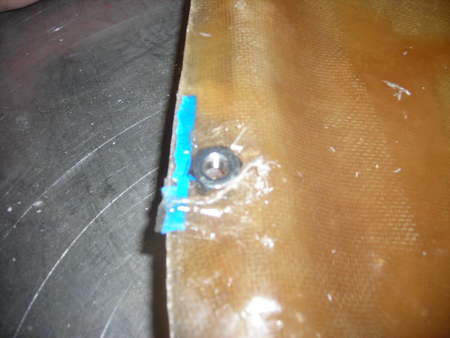
Then I bolted the pod to the door panel. This idea worked perfectly.
Here is the spades connected to each other running to the pod.
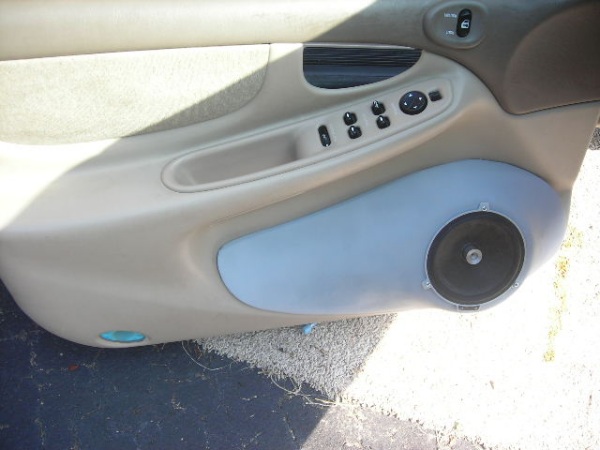
And here is how they looked on the doors
I really could not have done this project without the help of Berny Mac and Canaan. Mad thanks to you guys
Enough with the doors, Tomorrow it is time for the SPL ;)


 Did the plastic burn into your skin?
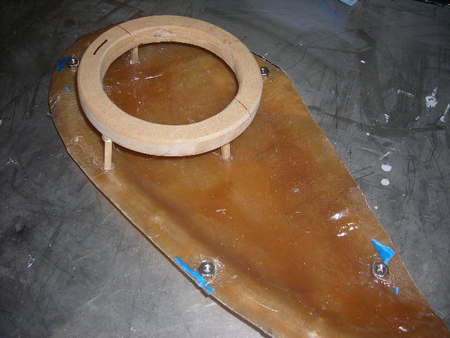


 Polo...